Log from Jenkins Jobs to GitHub Pull Requests as Checks

| A guest post, originally posted at lmy.medium.com. |
You have a GitHub repo and a Jenkins server. The Jenkins server has jobs for running unit tests, computing code coverages, and executing static analyses.
Every time someone opens a PR to your repo, you ask them to run those jobs, take screenshots of the results, and paste these screenshots to the PR description as a proof of quality.
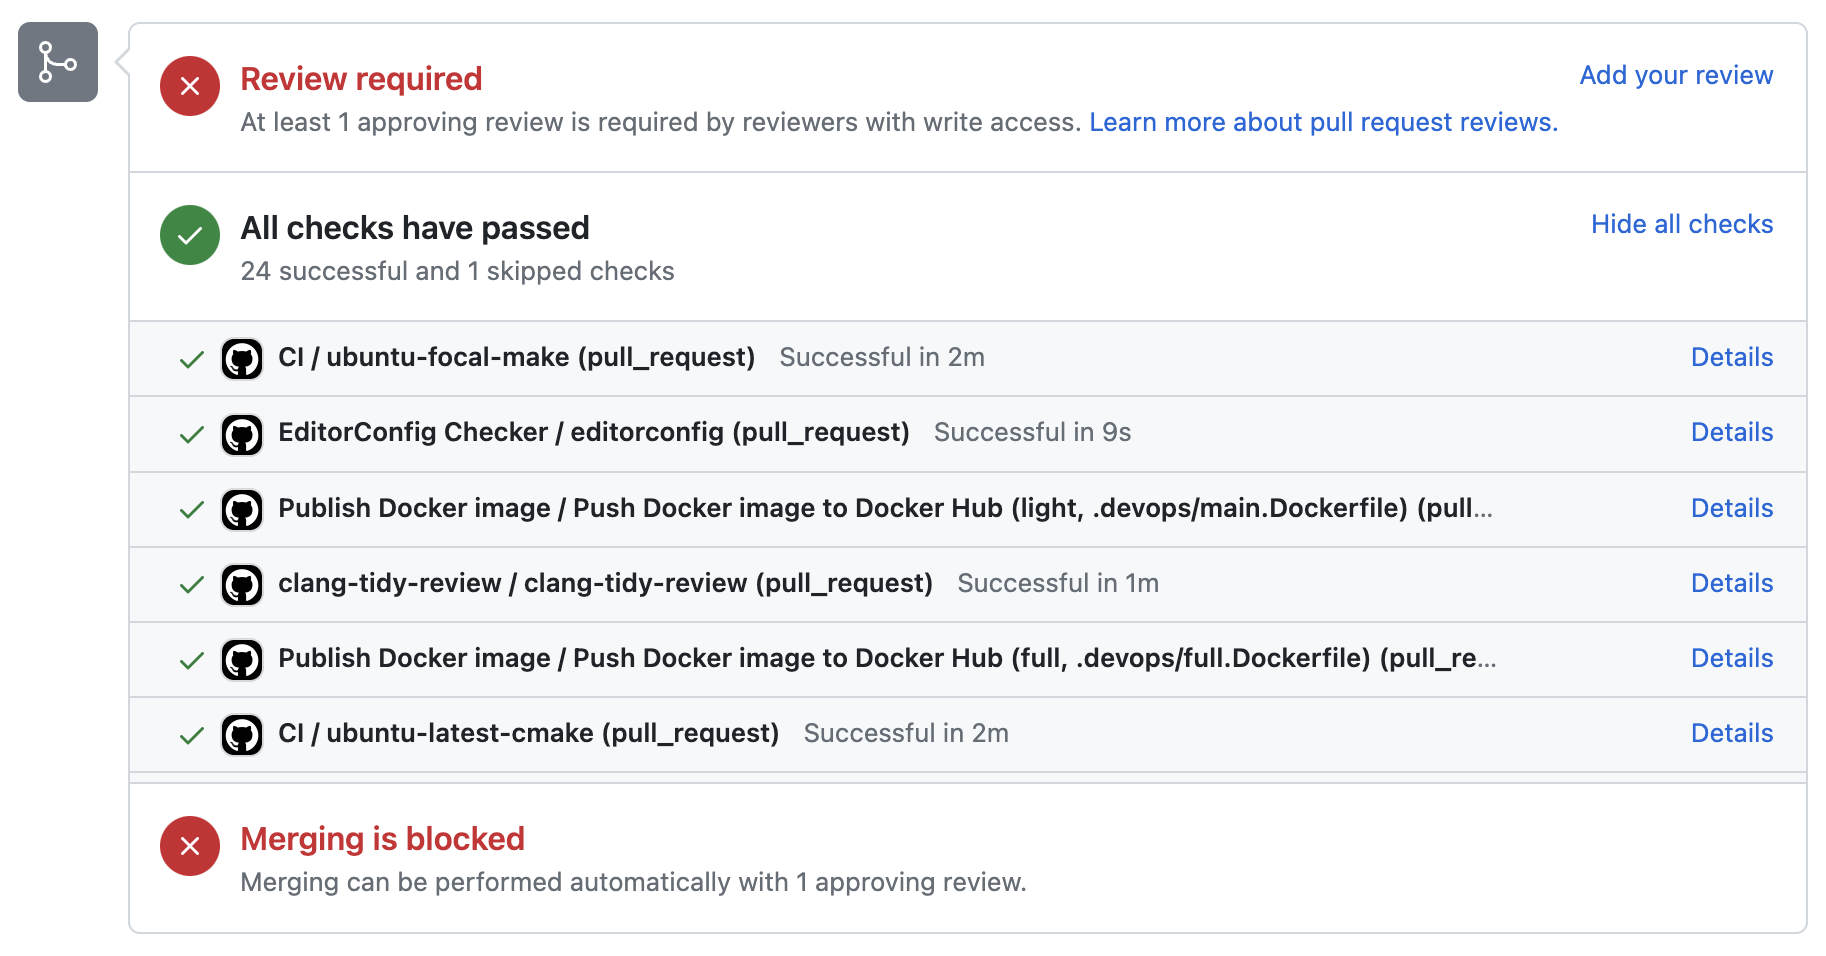
That’s too much waiting and too many keystrokes. People want automation: when they create a PR (or push a commit), those jobs should start to build. When the builds are done, the results should be conveniently visible at the "Checks" section at the bottom of the PR, like this:
Ways to publish checks to PRs: Statuses, Checks, and Actions
You thought about your options. There are 3 types of entries that can be shown in this little box. In order of increasing complexity to configure:
-
Statuses, or as I’d like to call them, Commit Checks. They are associated with commits, not PRs. This means you can run them even without creating a PR. For example, here are some Commit Checks on a commit I directly pushed to a
masterbranch: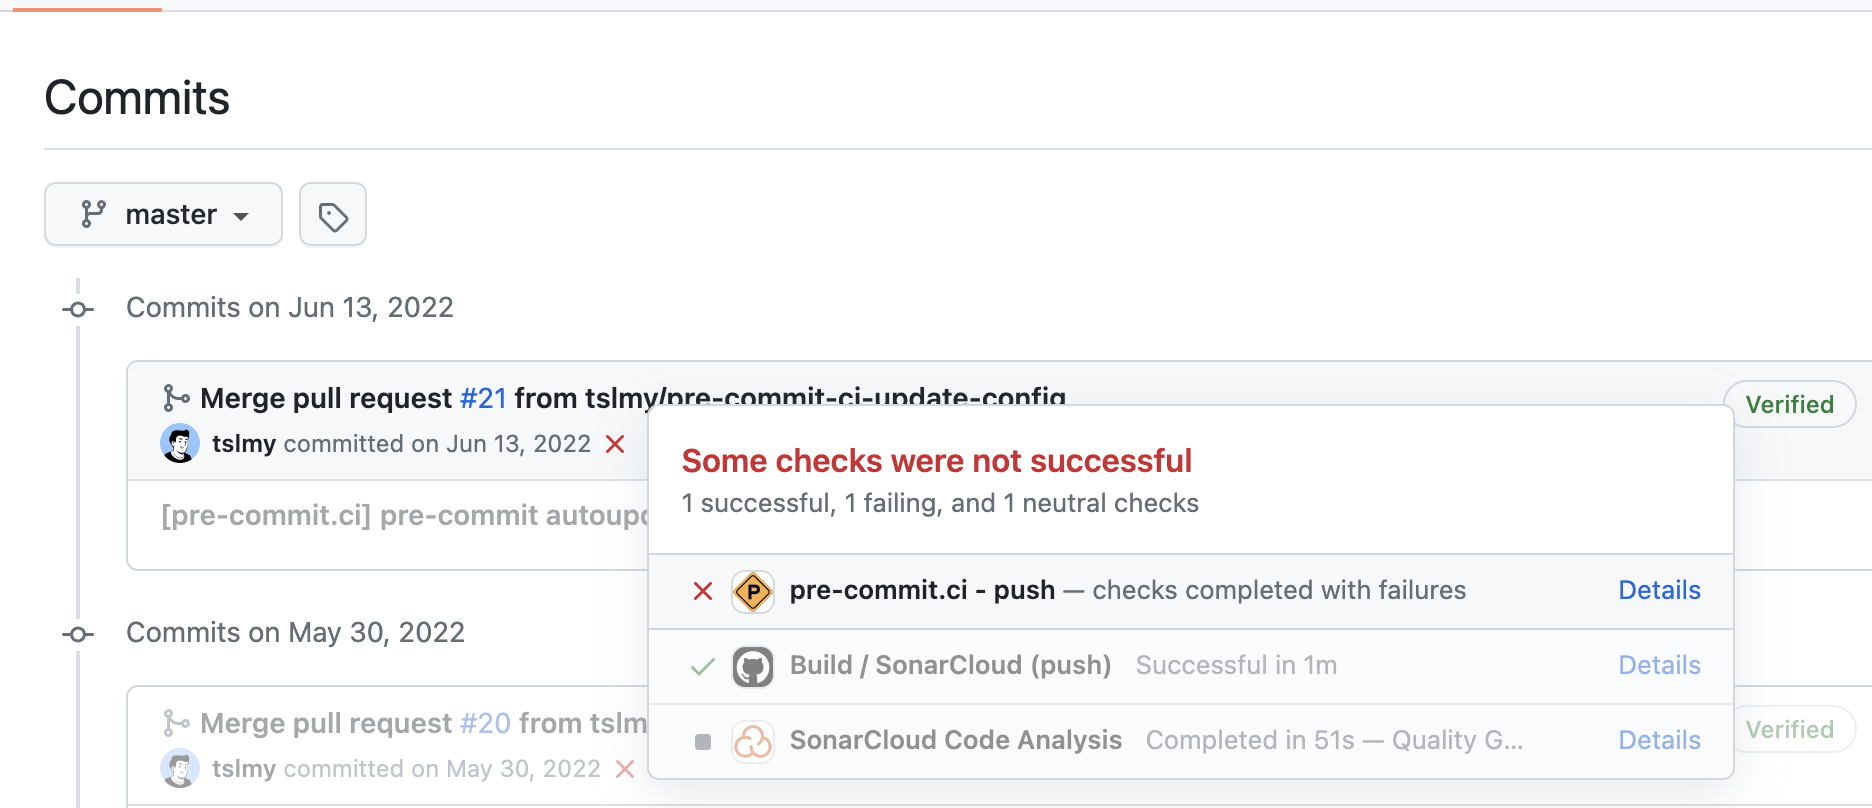
-
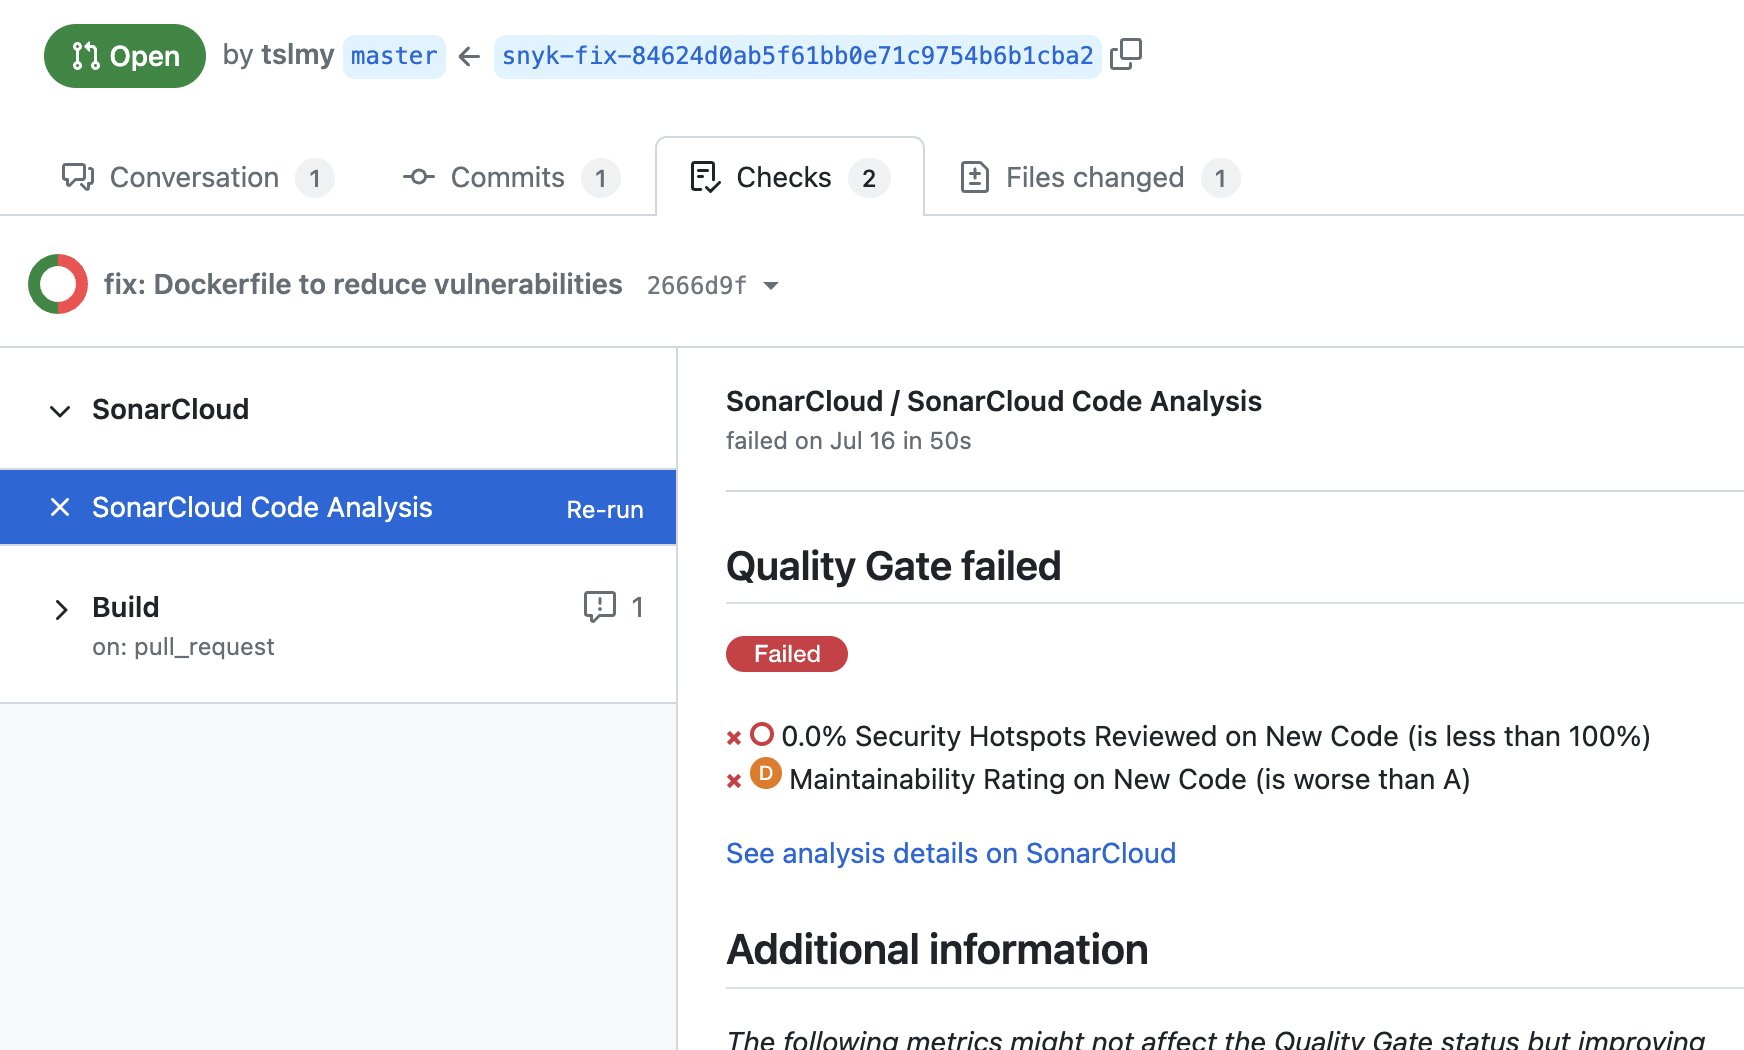
Checks, or more explicitly, PR Checks. These are run on commits but are stored with the PRs. With them, you can write long essays of messages to the "Checks" tab of a PR, but they do require authenticating as a GitHub App instead of a user, so it’s more complicated to set up. SonarCloud, a code analyzer, makes use of PR Checks via their namesake GitHub App. If you look closer, their report is just Markdown:
-
GitHub Actions (GA). GA is a different kind of CI system from Jenkins. Since this article is about Jenkins only, GA is only mentioned here for the sake of completeness.
When the result is simple: Use commit statuses
The Jenkins jobs you want to trigger only run for a couple of seconds. Each only emits a simple result: pass or fail. You don’t need fancy reports, so commit statuses seem to be a suitable choice.
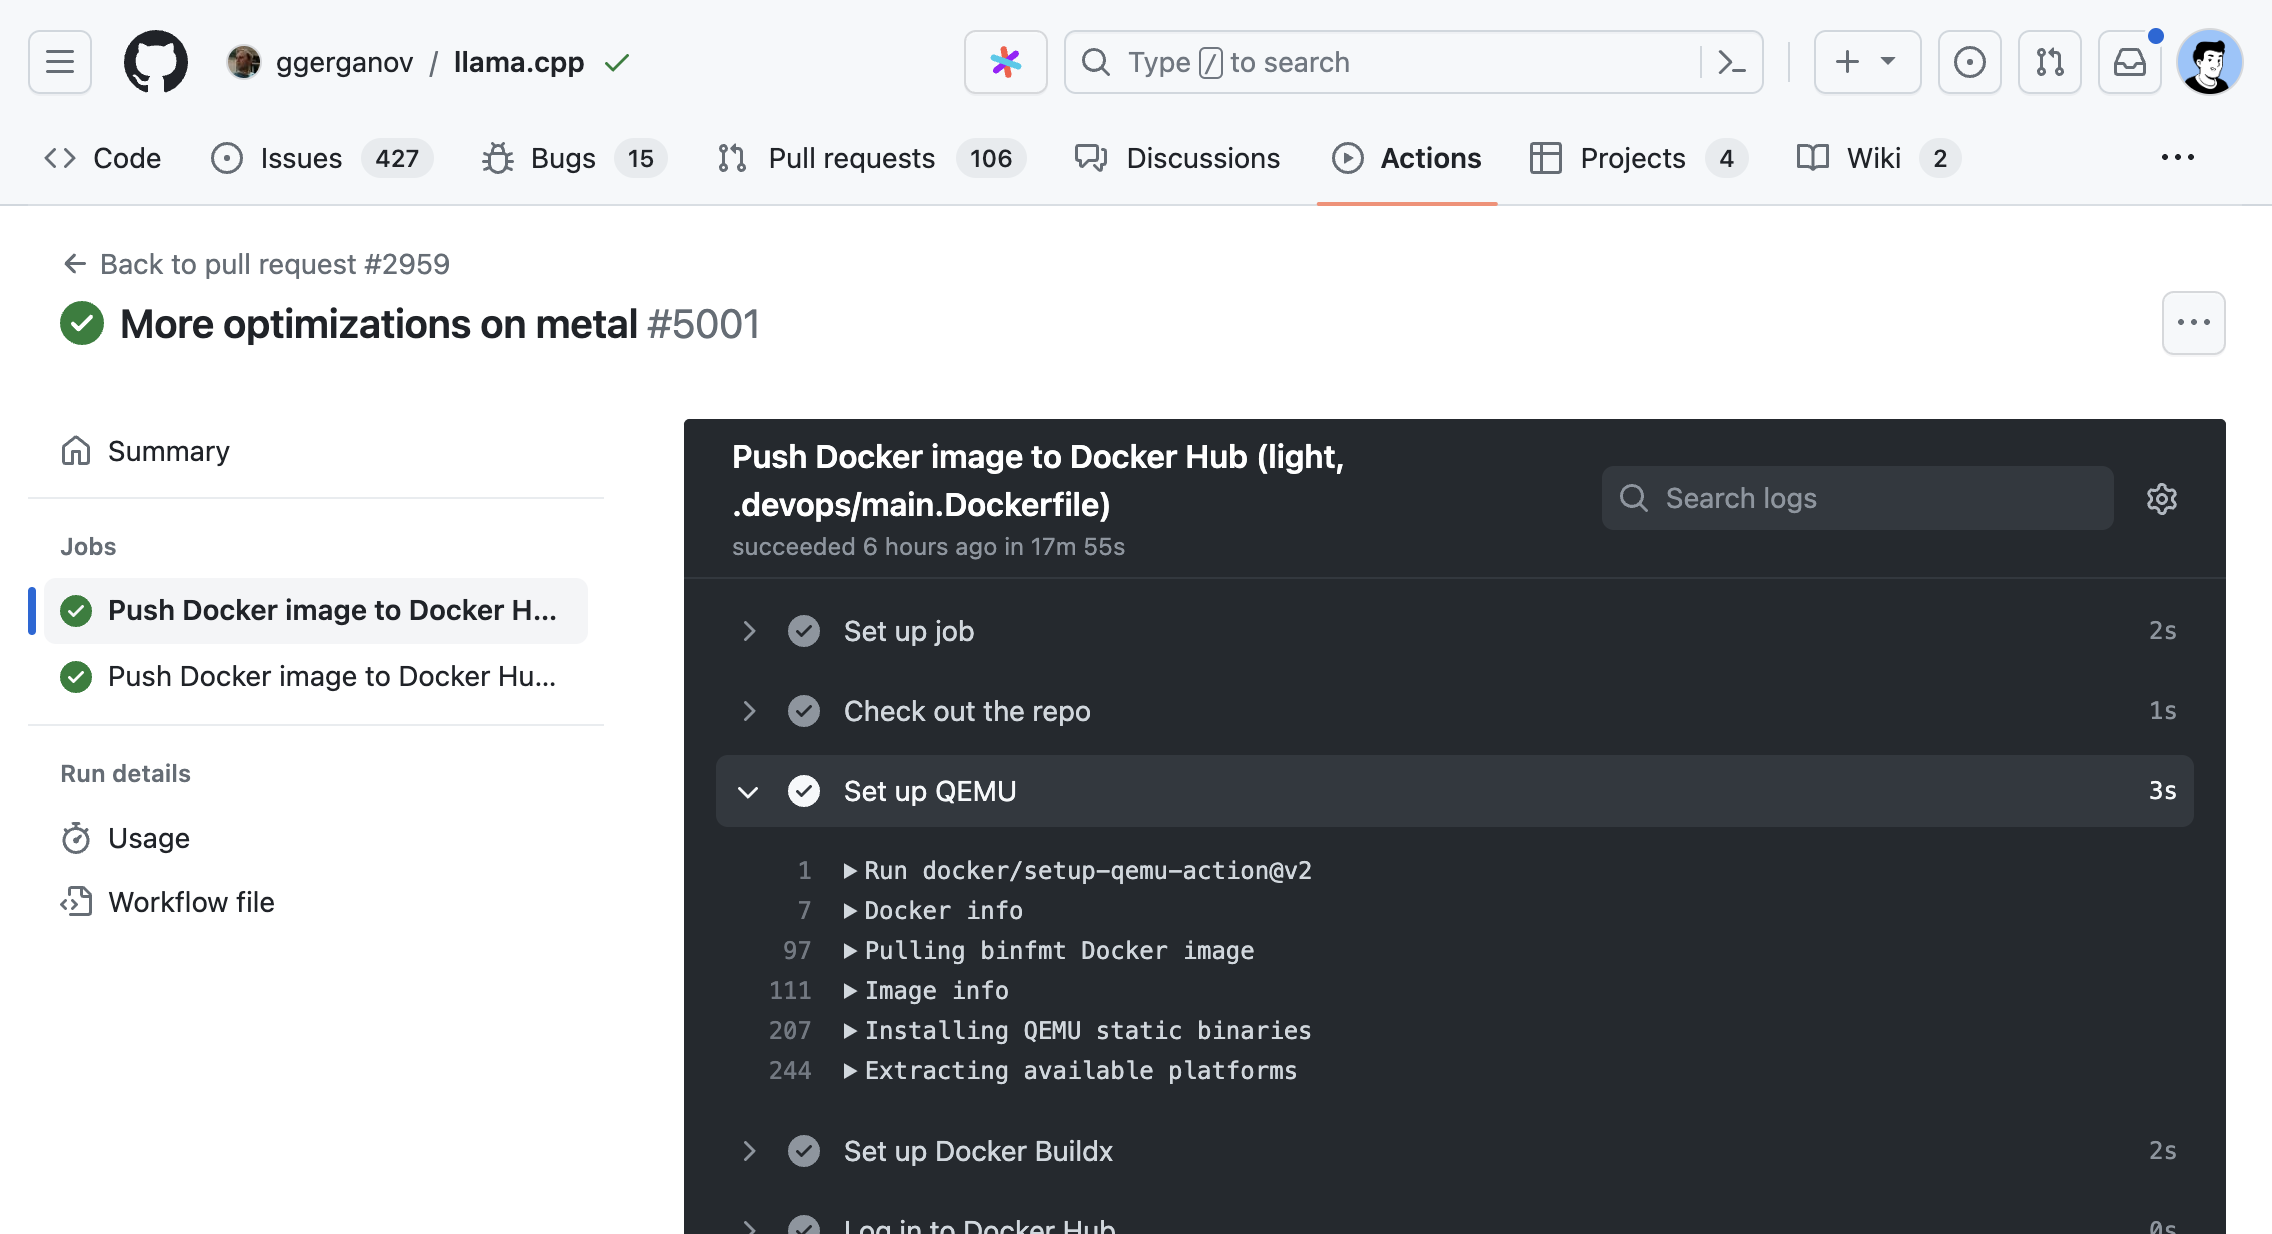
You installed the GitHub plugin to your Jenkins server and followed this guide to set it up. You are now able to emit simple one-liners as checks like this:
 (source of screenshot; Apache 2.0 licensed)
It met your immediate need, but it stills falls short in a number of ways:
-
The plugin publishes to the PR only thrice: upon getting queued, upon the start, and upon completion. Your job actually has many time-consuming stages, such as building a manifest, deploying to staging, and running tests. These stages are often packed in a single script and you want to be notified at each stage.
-
The messages show up with your GitHub profile image as the icon, because Jenkins is using your PAT! You want to shy away from the spotlight, maybe because you don’t want to be mistaken by your less-GitHub-savvy collaborators as a ruthless robot critiquing (and blocking) everybody’s PRs.
That’s when you start to look further.
When the report is long: Use PR checks
Your job generates a long report at the end, but the Checks section can only accommodate a couple of words. You have been rendering the reports as HTML and attaching them to the Jenkins builds themselves (perhaps with a nice Jinja2 template and the HTML Publisher plugin). The commit statuses your job writes to PRs contain links to the Jenkins builds themselves, so it’s only two clicks away from an HTML report — not bad.
To prevent past HTML reports from saturating the disk, you configured the job to only keep the 20 most recent builds. Then the team grew and people started complaining that their reports are getting purged before they could even take a look. You now have a scalability problem.
Let’s move those reports away from Jenkins, and what’s a better place than the PRs themselves?
Following this guide from CloudBees, you created a GitHub App, installed it onto your repo, generated a SSH private key for the app, and uploaded it to Jenkins credentials storage with "GitHub App" as the Kind. (For the GitHub half of the journey, this tutorial has better screenshots.) Now that your Jenkins job is allowed to send PR Checks, how do we tell it what to send?
That’s when these 3 plugins come into play:
-
Checks API Plugin: This enables Jenkins to talk to the Checks API on various git hosting platforms, including GitHub, GitLab, and BitBucket. This is a base plugin that is meant to be extended with other plugins, not directly used by Jenkins jobs, though.
-
GitHub Checks API Plugin: This enables Jenkins to talk to GitHub specifically. It extends the aforementioned Checks API Plugin.
-
JUnit Plugin: This publishes JUnit-style XML test reports to various destinations. It posts to the current build, and — when the Checks API Plugin is available — publishes to GitHub/GitLab/… as PR Checks.
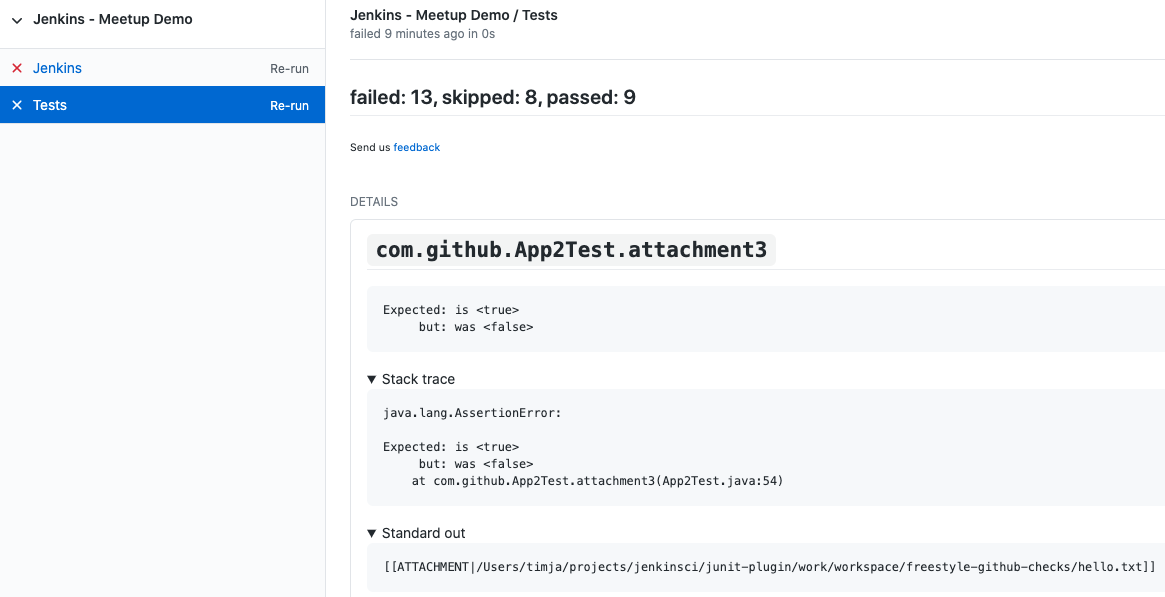 (Source of screenshot)
JUnit, you said?
Contrary to what the name implies, JUnit XML reports aren’t just for JUnit; it has been the de facto standard for reporting test results for various testing frameworks (and even for languages besides Java). Here are a few examples:
In Python, pytest has native support for creating JUnit XML format reports:
pytest --junitxml=pathIn Go, the go-junit-report package can translate go test results to JUnit format:
go test -v 2>&1 ./... | go-junit-report -set-exit-code > report.xmlIn C++, Google’s testing framework (GoogleTest) can emit test results as XML, which conforms to the JUnit format:
export GTEST_OUTPUT="xml:/path/to/junit.xml"
# Run your normal test command here.
The JUnit format is described in this article, Common JUnit XML Format & Examples, along with some examples. You can also refer to the first 4 lines of the article Taking advantage of JUnit XML reports from Xray.
In summary, you can have the Jenkins job emit results in the JUnit XML schema, so that you can send the results as a PR Check via the JUnit Plugin.
To update the check at each step
The JUnit plugin is meant for the conclusions, but you might want to publish messages before it concludes. Depending on whether your Jenkins job can be naturally split into different build steps and be written in a Jenkins Pipeline, there are different ways to achieve this.
Case 1: If you can split your job into self-contained Steps, you can update PR Checks by interacting with the Checks API plugin directly. By "directly", I mean you don’t need to go through its "consumer plugins", such as the JUnit plugin. In Jenkinsfile syntax:
publishChecks
  name: 'my-cool-check',
  title: 'Integration Test',
  summary: 'Manifest is built. Deploying to a staging pool now.',
  status: 'IN_PROGRESS',
    text: 'Nothing much to see here.',
    detailsURL: 'https://link.to.your/jenkins/build/',
    actions: []
This is useful when each action your job takes can be written as a standalone call to executables.
For example, I may have a job that builds, tests, and publishes my Rust code by calling cargo build, cargo test, and cargo publish respectively.
Since each step is a separate shell command, I can easily write them as:
// Under pipeline > stages > stage('...') > steps.
script {
  publishChecks name: 'my-cool-check', status: 'IN_PROGRESS',
    title: 'Build, Test, and Publish',
    summary: 'Building...'
  sh 'cargo build'
  publishChecks name: 'my-cool-check', status: 'IN_PROGRESS',
    title: 'Build, Test, and Publish',
    summary: 'Testing...'
  sh 'cargo test'
  publishChecks name: 'my-cool-check', status: 'IN_PROGRESS',
    title: 'Build, Test, and Publish',
    summary: 'Publishing...'
  sh 'cargo publish'
}
To update the Check within a Step
Case 2: If your job is quite monolithic, it can be awkward to split your self-contained script into multiple, just for the sake of separating them as build steps and inserting publishChecks in-between.
In these cases, you’ll have to directly interact with the GitHub API without the Jenkins layer.
In terms of the fancy plugins, this means you even don’t have to use the Checks API plugin.
For GitHub Apps, the authorization & authentication process can be quite involved:
-
Back when you installed your GitHub App to your repo, you granted a set of permissions to your App. This is called authorization. Exactly what your App can do to your repo can be retrieved from GitHub via an "Installation ID".
-
When your script initializes, it needs to authenticate to GitHub as your App. To do so, the script needs a private key of the App. You can generate a private key from the App’s settings page and use it forever.
-
If dealing with the raw GitHub API, the authentication is quite involved. First, you generate a JSON Web Token (JWT) with the private key. Then, you call a GitHub endpoint with this JWT, saying "I’m this App, and I’m trying to access the repos we agreed upon earlier." This endpoint gives you an "installation access token" (IAT). Your script would use this IAT to call other endpoints, just like how you’d use a PAT when calling endpoints manually as yourself.
Luckily, many languages have libraries that handle the intermediate work for you.
Let’s say your Jenkinsfile runs a Python script via (sh './run.py').
We can use the PyGitHub library to call GitHub APIs Pythonically.
In Python, the built-in logging library is the standard way to emit messages. Your script creates a "logger" and attaches different "handlers" to it, each defining an output channel of your messages such as standard output, file on disk, or remote service. Intuitively, we can write a handler for logging to GitHub Checks.
With the help of ChatGPT, I implemented this handler. You can see that the handler requires quite some parameters to initialize. Where do you get them?
-
For locating the PR and the commit, the GitHub Integration plugin can help. It can trigger Jenkins jobs upon PR events, injecting these environment variables to each Build. We’ll use two:
GITHUB_PR_HEAD_SHAandGITHUB_REPO_SSH_URL. -
For referencing from the PR Check to the Jenkins Build, we’ll also need an environment variable set by vanilla Jenkins:
BUILD_URL. On this page, you can find a list of all Jenkins-set variables. -
For authentication, we are on our own. We can upload the App’s private key to Jenkins credentials storage and wrap the
sh './run.py'step with the closuresshUserPrivateKey. For the App ID and the Installation ID, since they aren’t necessarily secrets, we can afford to spell them out with anenvironmentdirective. Combined, your Jenkinsfile might look like this:pipeline { environment { GITHUB_APP_ID = '123' GITHUB_APP_INSTALLATION_ID = '456' } stages { stage('...') { steps { script { sshUserPrivateKey ( credentialsId: "...", // ID from the Jenkins credentials storage. keyFileVariable: 'GITHUB_APP_PRIVATE_KEY_PATH') { sh './run.py'
Now, in your Python script, you can read the environment variables during initialization:
import logging
from GitHubCheckHandler import GitHubCheckHandler

logger = logging.getLogger('...')

handler = GitHubCheckHandler(
  private_key_path=str(os.getenv("GITHUB_APP_PRIVATE_KEY_PATH")),
  installation_id=int(str(os.getenv("GITHUB_APP_INSTALLATION_ID"))),
  github_app_id=int(str(os.getenv("GITHUB_APP_ID"))),
  owner_repo=str(os.getenv("GITHUB_REPO_SSH_URL"))
    .removeprefix("git@github.com:")
    .removesuffix(".git"),
  commit_sha=str(os.getenv("GITHUB_PR_HEAD_SHA")),
  details_url=str(os.getenv("BUILD_URL")),
)

logger.addHandler(handler)
Then, you should be able to see Python logs directly in the PR Checks sections.
Note that the yellow light besides your check will keep spinning as you send messages.
To tell GitHub that this check has finished, you should call the handler.conclude(...) method.
Therefore, you should keep the handler object exposed to your main function.
Summary
In this guide, we’ve explored how to automate and enhance PR quality assurance by tightening the integration between Jenkins and GitHub, specifically by emitting richer logs back to the PRs in a more timely manner.
With the missing link of the feedback loop filled, we boost developers' productivity. By freeing them from manually checking the results and attaching screenshots, we save developers' precious time and brain capacity, which can be devoted to more creative work.
In summary, automation not only boosts efficiency but also elevates the overall quality of your software development process. So, don’t hesitate! Start automating your PR quality assurance today and experience the benefits of a more streamlined and productive workflow.
Thank you for following along and happy coding!
About the author