% curl -Lv https://JENKINS_URL/login 2>&1 | grep -i 'x-ssh-endpoint'
< X-SSH-Endpoint: localhost:53801
%Jenkins CLI
Table of Contents
Jenkins has a built-in command line interface that allows users and administrators to access Jenkins from a script or shell environment. This can be convenient for scripting of routine tasks, bulk updates, troubleshooting, and more.
The command line interface can be accessed over SSH or with the Jenkins CLI
client, a .jar file distributed with Jenkins.
|
This document assumes Jenkins 2.54 or newer. Older versions of the CLI client are considered insecure and should not be used. WebSocket support is available when using both server and client 2.217 or newer. |
Using the CLI over SSH
In a new Jenkins installation, the SSH service is disabled by default. Administrators may choose to set a specific port or ask Jenkins to pick a random port in the Security page. In order to determine the randomly assigned SSH port, inspect the headers returned on a Jenkins URL, for example:
With the random SSH port (53801 in this example), and Authentication
configured, any modern SSH client may securely execute CLI commands.
Authentication
Whichever user used for authentication with the Jenkins controller must have the
Overall/Read permission in order to access the CLI. The user may require
additional permissions depending on the commands executed.
Authentication in SSH mode relies on
SSH-based public/private key authentication. In order to add an SSH public key
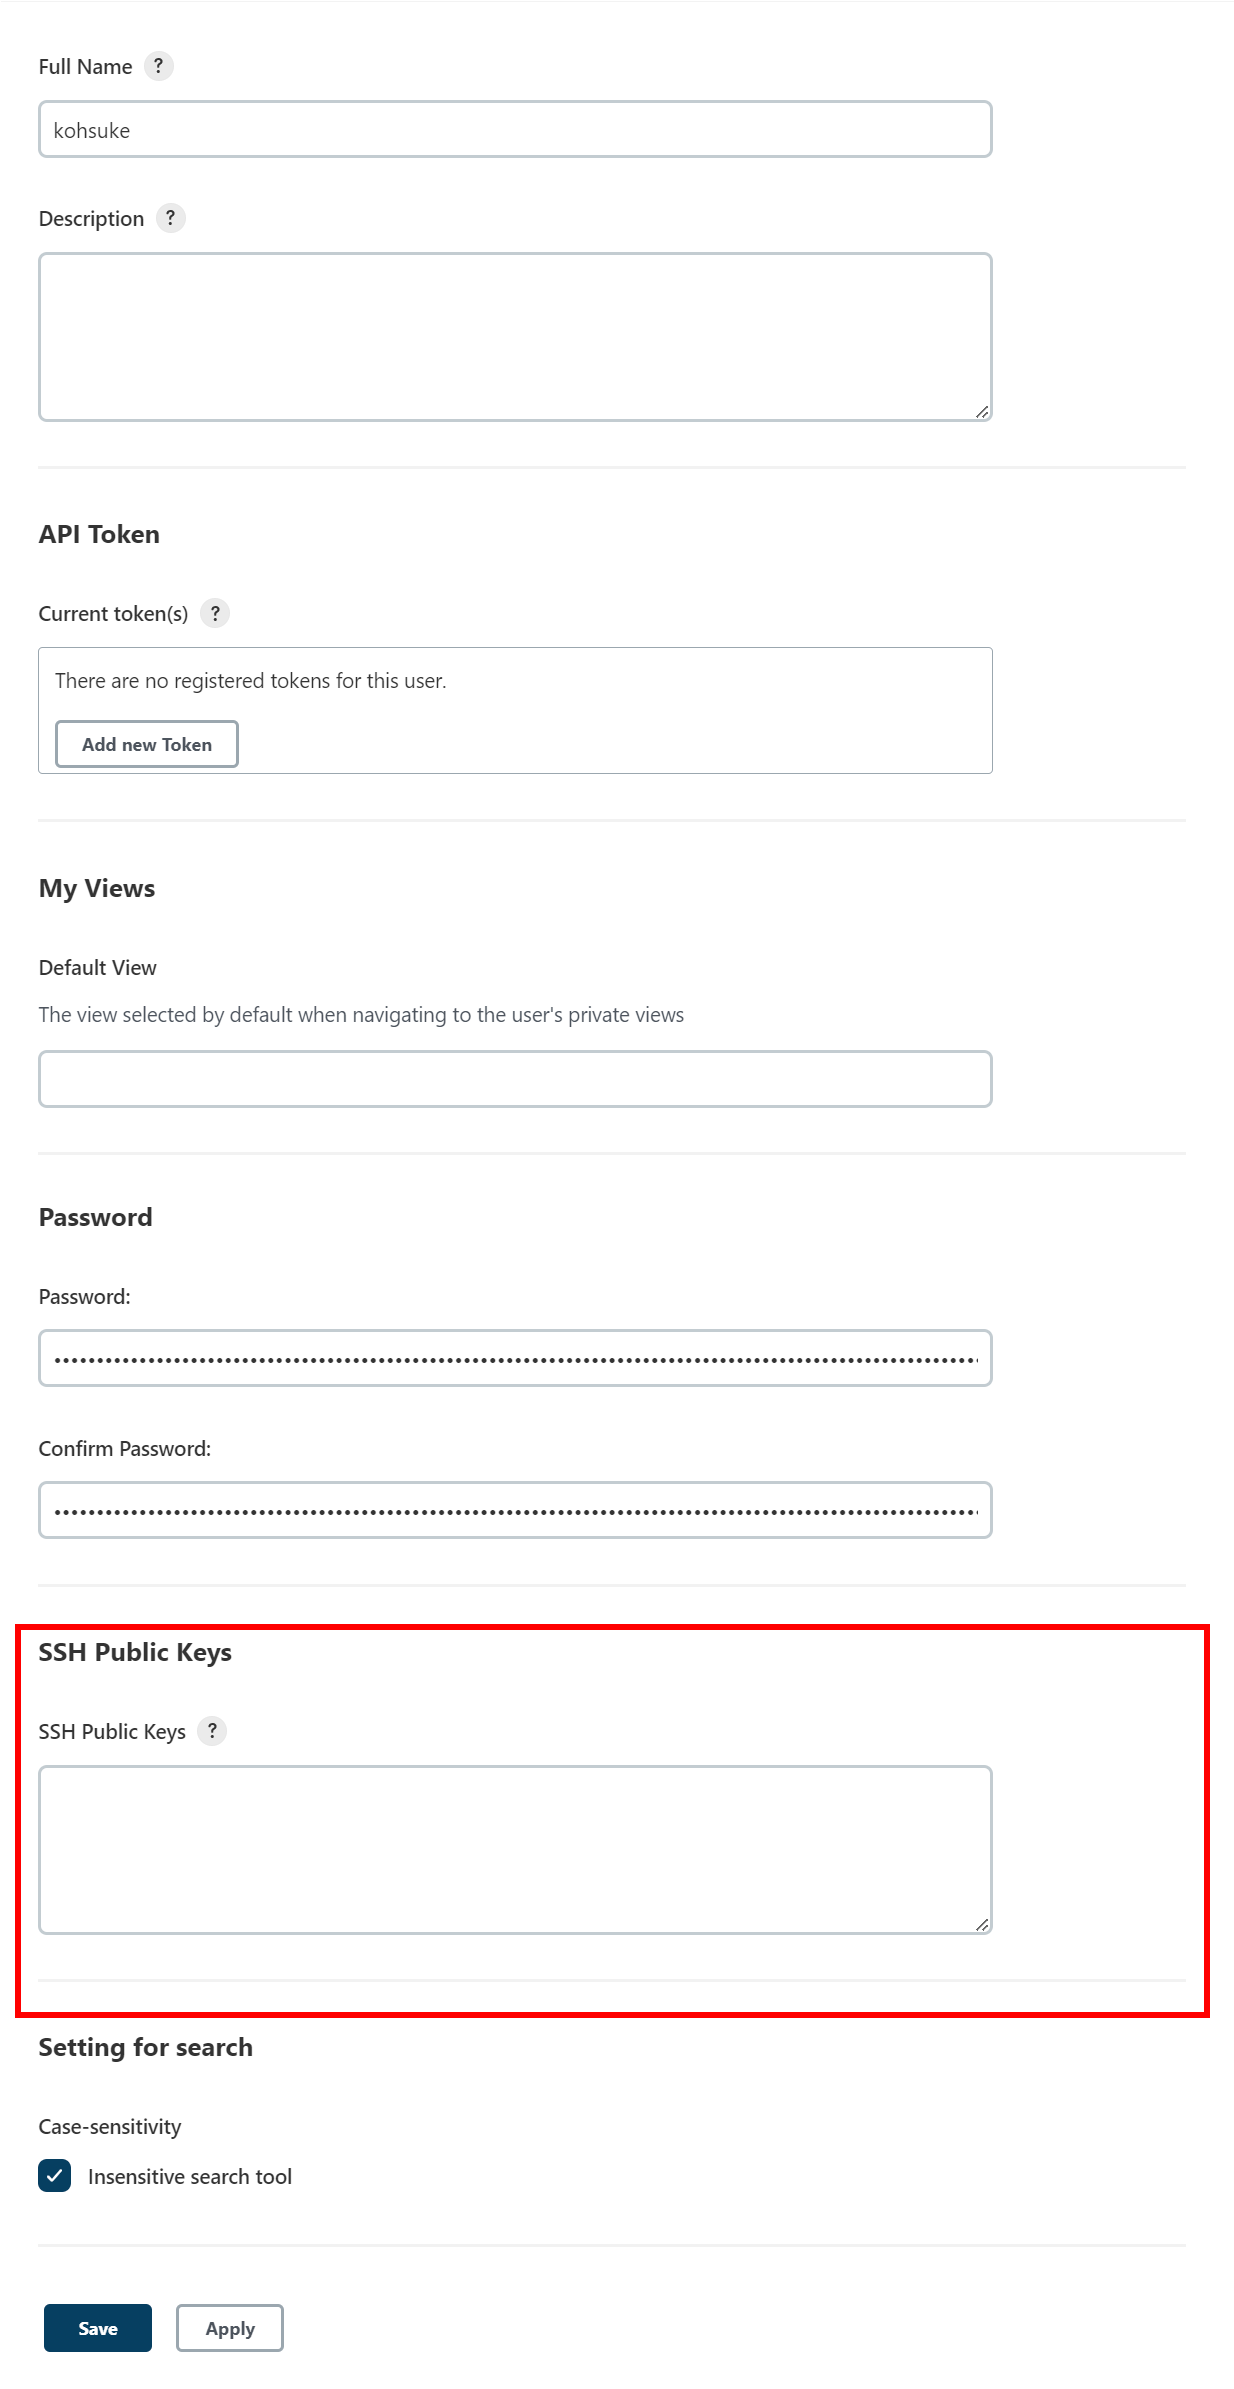
for the appropriate user, navigate to
JENKINS_URL/me/security and paste an SSH public key
into the appropriate text area.
Common Commands
Jenkins has a number of built-in CLI commands which can be found in every
Jenkins environment, such as build or list-jobs. Plugins may also provide
CLI commands; in order to determine the full list of commands available
in a given Jenkins environment, execute the CLI help command:
% ssh -l kohsuke -p 53801 localhost helpThe following list of commands is not comprehensive, but it is a useful starting point for Jenkins CLI usage.
build
One of the most common and useful CLI commands is build, which allows the
user to trigger any job or Pipeline for which they have permission.
The most basic invocation will simply trigger the job or Pipeline and exit, but with the additional options a user may also pass parameters, poll SCM, or even follow the console output of the triggered build or Pipeline run.
% ssh -l kohsuke -p 53801 localhost help build

java -jar jenkins-cli.jar build JOB [-c] [-f] [-p] [-r N] [-s] [-v] [-w]
Starts a build, and optionally waits for a completion.  Aside from general
scripting use, this command can be used to invoke another job from within a
build of one job.  With the -s option, this command changes the exit code based
on the outcome of the build (exit code 0 indicates a success) and interrupting
the command will interrupt the job.  With the -f option, this command changes
the exit code based on the outcome of the build (exit code 0 indicates a
success) however, unlike -s, interrupting the command will not interrupt the
job (exit code 125 indicates the command was interrupted).  With the -c option,
a build will only run if there has been an SCM change.
 JOB : Name of the job to build
 -c  : Check for SCM changes before starting the build, and if there's no
       change, exit without doing a build
 -f  : Follow the build progress. Like -s only interrupts are not passed
       through to the build.
 -p  : Specify the build parameters in the key=value format.
 -s  : Wait until the completion/abortion of the command. Interrupts are passed
       through to the build.
 -v  : Prints out the console output of the build. Use with -s
 -w  : Wait until the start of the command
% ssh -l kohsuke -p 53801 localhost build build-all-software -f -v
Started build-all-software #1
Started from command line by admin
Building in workspace /tmp/jenkins/workspace/build-all-software
[build-all-software] /bin/sh -xe /tmp/hudson1100603797526301795.sh
+ echo hello world
hello world
Finished: SUCCESS
Completed build-all-software #1 : SUCCESS
%
console
Similarly useful is the console command, which retrieves the console output
for the specified build or Pipeline run. When no build number is provided, the
console command will output the last completed build’s console output.
% ssh -l kohsuke -p 53801 localhost help console

java -jar jenkins-cli.jar console JOB [BUILD] [-f] [-n N]
Produces the console output of a specific build to stdout, as if you are doing 'cat build.log'
 JOB   : Name of the job
 BUILD : Build number or permalink to point to the build. Defaults to the last
         build
 -f    : If the build is in progress, stay around and append console output as
         it comes, like 'tail -f'
 -n N  : Display the last N lines
% ssh -l kohsuke -p 53801 localhost console build-all-software
Started from command line by kohsuke
Building in workspace /tmp/jenkins/workspace/build-all-software
[build-all-software] /bin/sh -xe /tmp/hudson1100603797526301795.sh
+ echo hello world
yes
Finished: SUCCESS
%
who-am-i
The who-am-i command is helpful for listing the current user’s credentials
and permissions available to the user. This can be useful when debugging the
absence of CLI commands due to the lack of certain permissions.
% ssh -l kohsuke -p 53801 localhost help who-am-i

java -jar jenkins-cli.jar who-am-i
Reports your credential and permissions.
% ssh -l kohsuke -p 53801 localhost who-am-i
Authenticated as: kohsuke
Authorities:
  authenticated
%
Using the CLI client
While the SSH-based CLI is fast and covers most needs, there may be situations where the CLI client distributed with Jenkins is a better fit. For example, the default transport for the CLI client is HTTP which means no additional ports need to be opened in a firewall for its use.
Comparing SSH and CLI client
Both SSH and jenkins-cli.jar provide access to a set of commands that lets you interact with Jenkins from a command line, but they have a few differences:
-
Jenkins SSH does not require any custom jar file on the client side, making it easier to access Jenkins from a variety of sources
-
SSH client was build to be a generic tool to serve several purposes. It doesn’t offer an easy way to do basic things that are common and specific to Jenkins environments. Using the
jenkins-cli.jarinstead of the ssh client may increase productivity and improve the development experience
Downloading the client
The CLI client can be downloaded directly from a Jenkins controller at the URL
/jnlpJars/jenkins-cli.jar, in effect JENKINS_URL/jnlpJars/jenkins-cli.jar
While a CLI .jar can be used against different versions of Jenkins, should
any compatibility issues arise during use, please re-download the latest .jar
file from the Jenkins controller.
Using the client
The general syntax for invoking the client is as follows:
java -jar jenkins-cli.jar [-s JENKINS_URL] [global options...] command [command options...] [arguments...]The JENKINS_URL can be specified via the environment variable $JENKINS_URL.
Summaries of other general options can be displayed by running the client with no arguments at all.
Client connection modes
There are three basic modes in which the client may be used, selectable by global option:
-webSocket, -http and -ssh.
WebSocket connection mode
This is the default mode, though you may pass the -webSocket option explicitly for clarity.
The advantage is that a more standard transport is used, avoiding problems with many reverse proxies or the need for special proxy configuration.
HTTP connection mode
Starting from Jenkins 2.391, the default mode is -webSocket.
To use the HTTP mode, you must explicitly pass the -http option.
Authentication is preferably with an -auth option, which takes a username:apitoken argument.
Get your API token from /me/configure:
java -jar jenkins-cli.jar [-s JENKINS_URL] -auth kohsuke:abc1234ffe4a command ...(Actual passwords are also accepted, but this is discouraged.)
You can also precede the argument with @ to load the same content from a file:
java -jar jenkins-cli.jar [-s JENKINS_URL] -auth @/home/kohsuke/.jenkins-cli command ...|
For security reasons the use of a file to load the authentication credentials is the recommended authentication way. |
An alternative authentication method is to configure environment variables in a similar way as the $JENKINS_URL
is used.
The username can be specified via the environment variable $JENKINS_USER_ID while the apitoken can
be specified via the variable $JENKINS_API_TOKEN.
Both variables have to be set all at once.
export JENKINS_USER_ID=kohsuke
export JENKINS_API_TOKEN=abc1234ffe4a
java -jar jenkins-cli.jar [-s JENKINS_URL] command ...
In case these environment variables are configured you could still override the authentication method using different
credentials with the -auth option, which takes preference over them.
Generally no special system configuration need be done to enable HTTP-based CLI connections. If you are running Jenkins behind an HTTP(S) reverse proxy, ensure it does not buffer request or response bodies.
|
This mode is known to not work reliably or at all when using certain reverse proxies. Prefer WebSocket mode. |
SSH connection mode
Authentication is via SSH keypair. You must select the Jenkins user ID as well:
java -jar jenkins-cli.jar [-s JENKINS_URL] -ssh -user kohsuke command ...In this mode, the client acts essentially like a native ssh command.
By default the client will try to connect to an SSH port on the same host as is used in the JENKINS_URL.
If Jenkins is behind an HTTP reverse proxy, this will not generally work,
so run Jenkins with the system property -Dorg.jenkinsci.main.modules.sshd.SSHD.hostName=ACTUALHOST
to define a hostname or IP address for the SSH endpoint.
Common Problems with the CLI client
There are a number of common problems that may be experienced when running the CLI client.
Server key did not validate
You may get the error below and find a log entry just below that concerning mismatched keys:
org.apache.sshd.common.SshException: Server key did not validate
    at org.apache.sshd.client.session.AbstractClientSession.checkKeys(AbstractClientSession.java:523)
    at org.apache.sshd.common.session.helpers.AbstractSession.handleKexMessage(AbstractSession.java:616)
    ...
This means your SSH configuration does not recognize the public key presented by the server. It’s often the case when you run Jenkins in dev mode and multiple instances of the application are run under the same SSH port over time.
In a development context, access your ~/.ssh/known_hosts (or in C:/Users/<your_name>/.ssh/known_hosts for Windows)
and remove the line corresponding to your current SSH port (e.g. [localhost]:3485).
In a production context, check with the Jenkins administrator if the public key of the server changed recently.
If so, ask the administrator to do the steps described above.
UsernameNotFoundException
If your client displays a stacktrace that looks like:
org.acegisecurity.userdetails.UsernameNotFoundException: <name_you_used>
    ...
This means your SSH keys were recognized and validated against the stored users but the username is not valid for the security realm your application is using at the moment. This could occur when you were using the Jenkins database initially, configured your users, and then switched to another security realm (like LDAP, etc.) where the defined users do not exist yet.
To solve the problem, ensure your users exist in your configured security realm.
Troubleshooting logs
To get more information about the authentication process:
-
Go into Manage Jenkins > System Log > Add new log recorder.
-
Enter any name you want and click on Ok.
-
Click on Add
-
Type
org.jenkinsci.main.modules.sshd.PublicKeyAuthenticatorImpl(or typePublicKeyAuthand then select the full name) -
Set the level to ALL.
-
Repeat the previous three steps for
hudson.model.User -
Click on Save
When you try to authenticate, you can then refresh the page and see what happen internally.
Please submit your feedback about this page through this quick form.
Alternatively, if you don't wish to complete the quick form, you can simply indicate if you found this page helpful?
See existing feedback here.